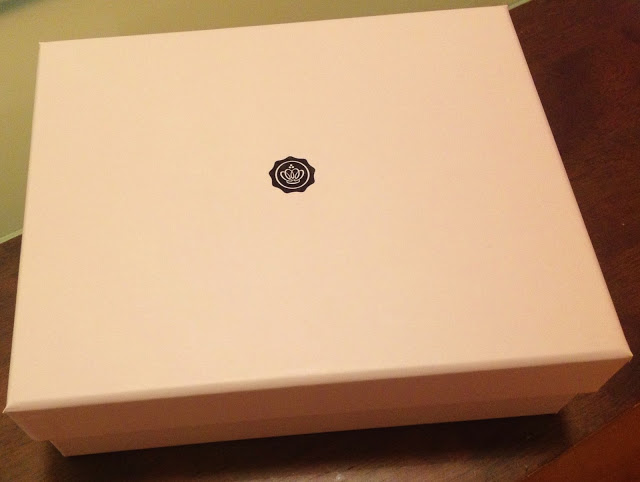
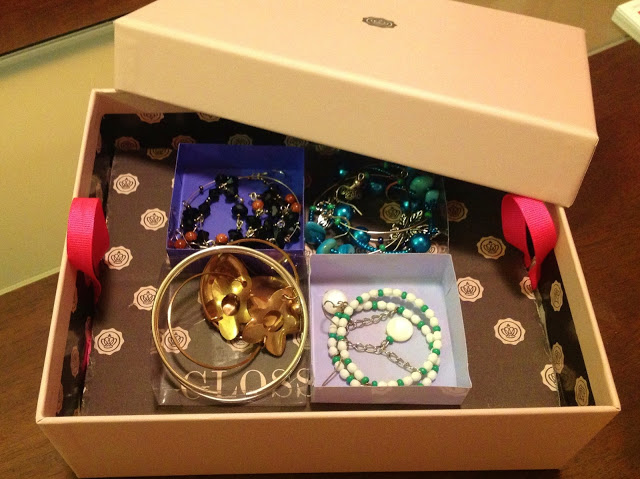
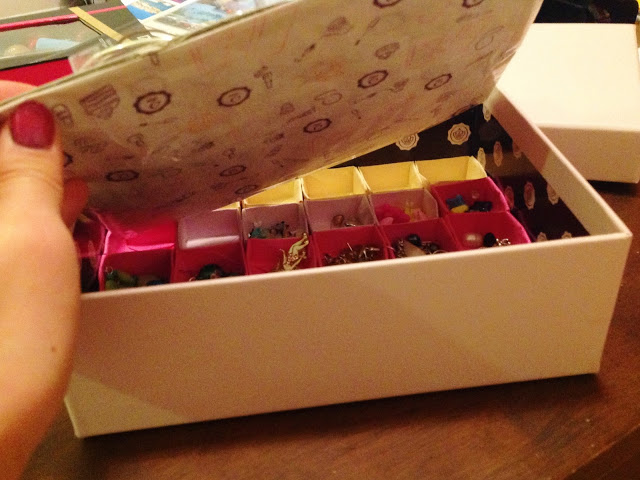
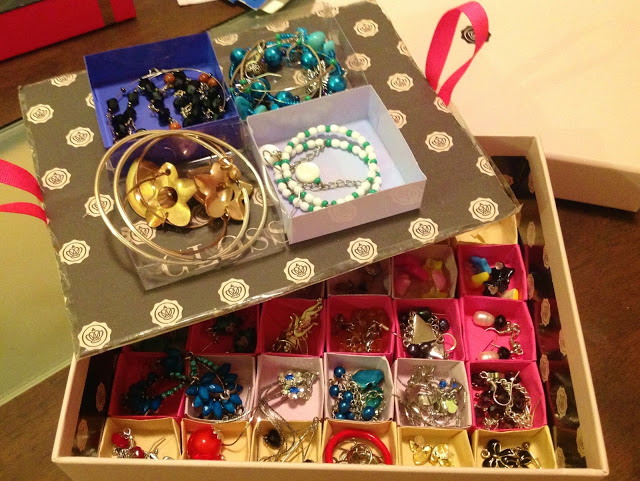
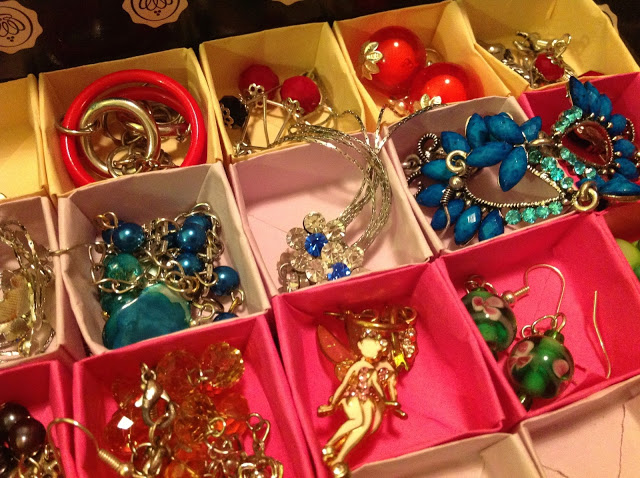
So last evening turned into a creative storage DIY session (got to put some engineering into practice) and here’s the result. Isn’t it cute? I’m aiming to come up with an innovative idea of what you can do with the leftovers of a nice box every time I receive one. I’m very sorry about the picture quality as I don’t have a nice camera so most the pictures were taken using crappy iPad and phone cameras. If this blog ever gets big I’ll make sure to get an awesome camera. 😛
Want one yourself? So let’s get this report started. 😉
Aim:
To create an adorable earring storage box using the May 2013 Glossybox packaging
Material:
– The complete Glossybox packaging (or any box really)
– Some colourful papers
– DIY tools: scissor, sellotape, glue stick, ruler
Method:
3. Now use the packaging ribbon to create a handle for the separation layer.
4. For a nice finish, refold the wrapping paper and stick it to the back of the separation layer and secure it with sellotape.
5. For the top section of my earring box, I stuck 4 cheap plastic boxes I found lying around (I would prefer them to be see-through, but I only had 4).
Result:
Opening picture of course. A cheap, but pretty earring storage solutions and organiser.
Discussion:
So here I chose to make an earring box because my earrings always get tangled up and this is a perfect plan to keep them safe and separated. You can of course make the boxers bigger and use it for other types of storage. Be creative! However, you will require some time and patience. I did it while watching TV and YouTube. Girls can multi-task!
Conclusion:
It’s cute, it’s amazing, it’s fun and it’s sustainable!
How to make mini boxes: http://www.origami-make.com/origami-box-traditional.php
ga(‘create’, ‘UA-42357811-1’, ‘auto’);

