This post is all about DIY! Yay, I always enjoyed making things and I’m really glad that I get to share these creative ideas with you guys. This is a cheap nail polish storage solution, but it can also be used a makeup storage solution (e.g. lipsticks). 🙂 For Glossybox DIY idea 1, earring storage box and organiser, please click here.
My June Glossybox arrived this week, finally! I’m a little late in reviewing the content, as this month’s box has obviously been over-reviewed like every month’s box by this time. I’ve taken some some pictures, and I will upload them when I run out of blog post ideas (which is probably never). Anyways, this post is all about creating something awesome using the empty Glossybox.
I’m gonna show the steps in pictures but if you want to create something similar if not the same, then please let me know if anything is unclear, e.g. dimensions. 🙂 Comment below or tweet me for questions.
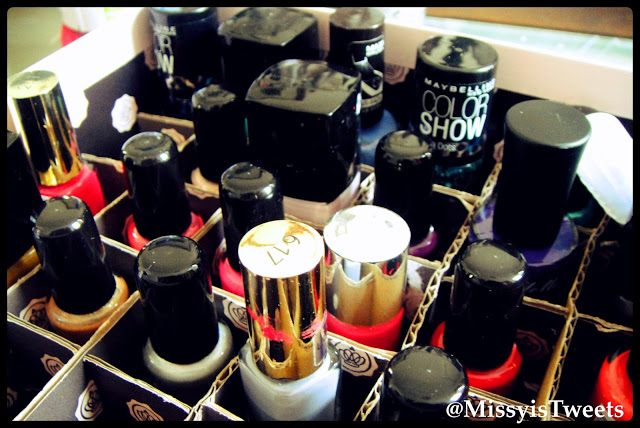
Do you use your Glossybox as a nail polish storage, like I do?
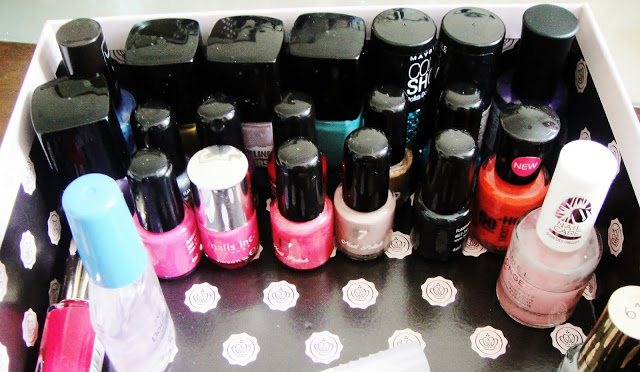
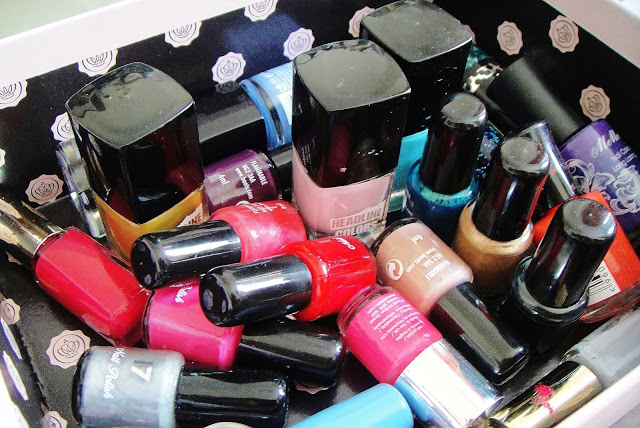
If you do, have you ever experienced this problem? It’s not a portable box because the nail polishes get jumbled up with a slight movement. In addition, you should always store nail polishes upright to avoid discolouration.
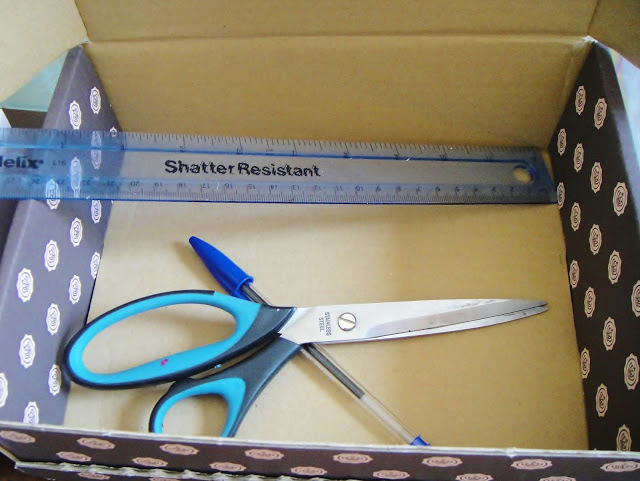
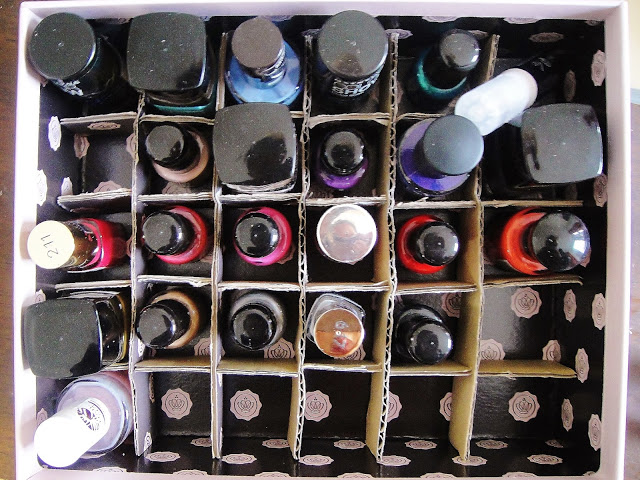
So as a problem solver, I decided to make little compartment for each individual polish (they must feel so special). Other than the empty Glossybox itself, you will need the packaging the box, a ruler, a pair of scissors and a pen.
Use the the packaging box to create horizontal and vertical dividers (I made 4 x 5 pieces). Make slits on the dividers depending on the size of you nail polishes.
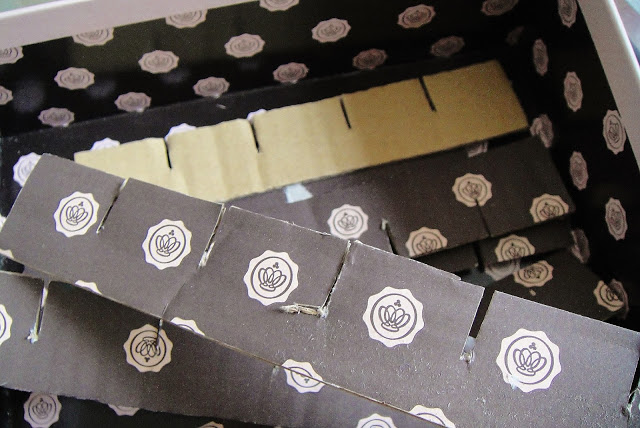
Then simply combine the horizontal pieces with the vertical pieces as show in the next image.
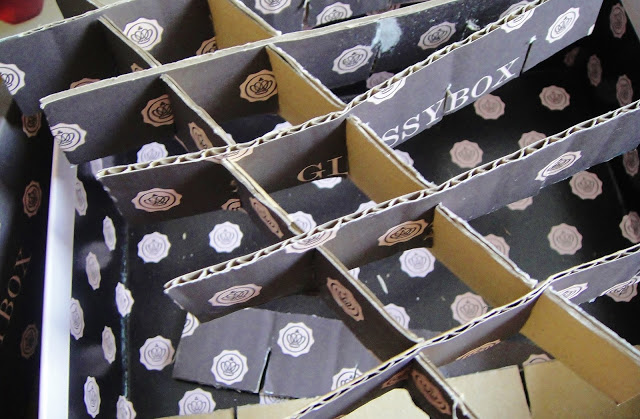
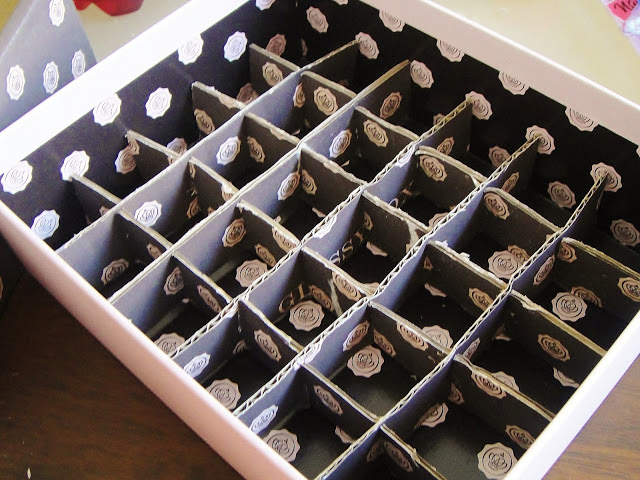
Once that’s done and if the measurements are correct, the dividers should fit nicely into the main box.
Don’t forget to add the nail polishes. 😉
All DIY ideas are my own. I will always link back to the original if I made an exact copy of someone else’s idea. Also, sorry for the dusty look of these pictures!!! My camera decided to collect dust, I didn’t realise how bad it was until I processed the pictures on my computer.
Like it? Would love to hear your opinion on this Glossybox DIY!

Wow this is amazing – Such a good idea! I need some addition nail varnish storage so will have to try this! Xx
It took me 2 hours to make, but it's definitely worth it! A great way of upcycling the packaging box as well as the Glossybox itself. x
i love how you've done this. i've just thrown them all into the box. i want to do this. thanks for sharing.x
Thank you! I'm glad you like it and find it helpful! 🙂 x
This is such a good idea, mine are all chucked in my glossyboxes and are a complete mess.
Might have a sort out today! 😀 xx
Rachael | beautypea.com
MAC Giveaway!
Mine was a mess as well before I found better use of the boxes. :p hoping to create more DIY ideas in the future. X
This is such a good idea! I could do with a new and more organised way to store my nail polishes 🙂 xx
Thank you! It gives you the option to colour code them. 😛 x
Amazing! I'll definitely be doing this.