A few months ago I was contacted by Smile Brilliant to write a review about them. I was unsure about teeth whitening at first as I’ve heard that it can make your teeth really sensitive, but I thought I’d give it a go anyways as I’ve always wanted to have my teeth whitened but I could never afford it. Nevertheless, Smile Brilliant solves two of my worries in one go! First of all, it’s way cheaper than going to the dentist and you can always desensitise your teeth with the desensitizing gel in the pack.
At first, I thought that the whole process seemed really complicated and all the contents in the pack really confused me. However, the clear set of instructions that came with the pack and the informative guideline on Smile Brilliant’s website made the whole process seem pretty straightforward.
This is basically how it work:
1. Smile Brilliant sends you the entire whitening kit box
2. You create your own teeth impressions using the Base Paste + Catalyst Paste and send it back to Smile Brilliant
3. Smile Brilliant sends you back the plastic teeth impressions that is uniquely your, which takes about a week to create and post.
4. You can finally start your teeth whitening process using the gels in the box
I’ll divide my review into four parts following the four stages listed above, so that you follow what I’m talking about throughout.
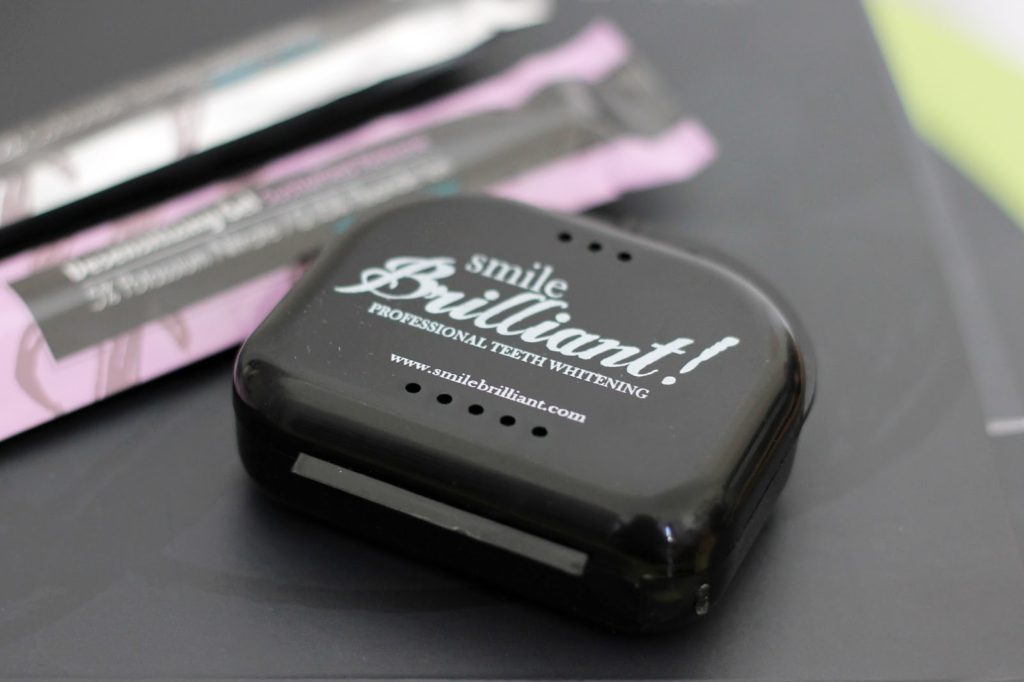
1. The Smile Brilliant Box:
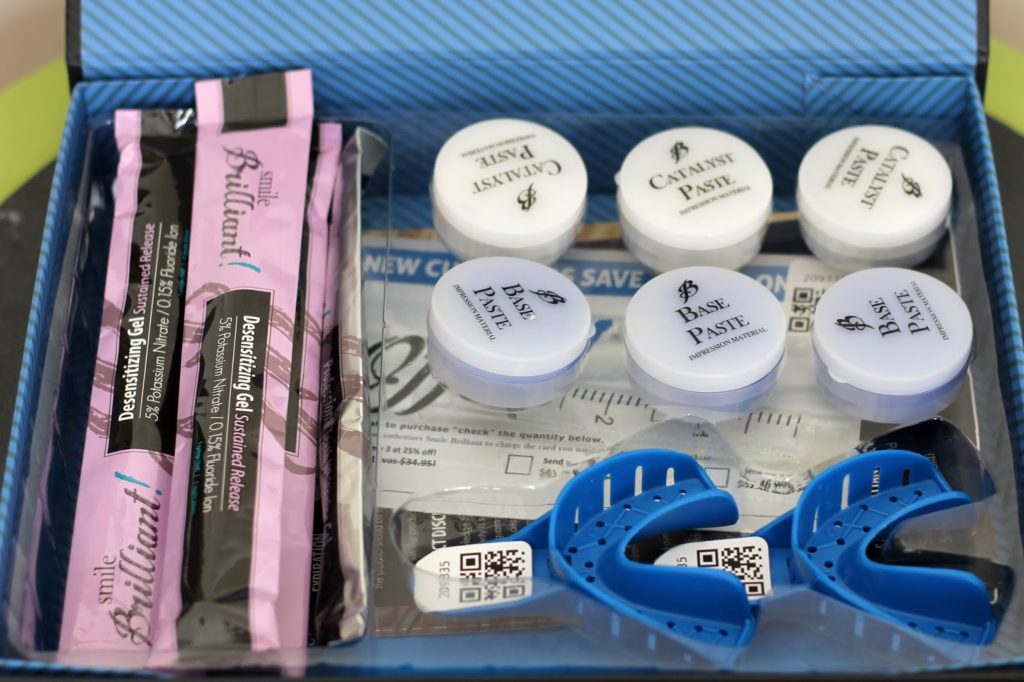
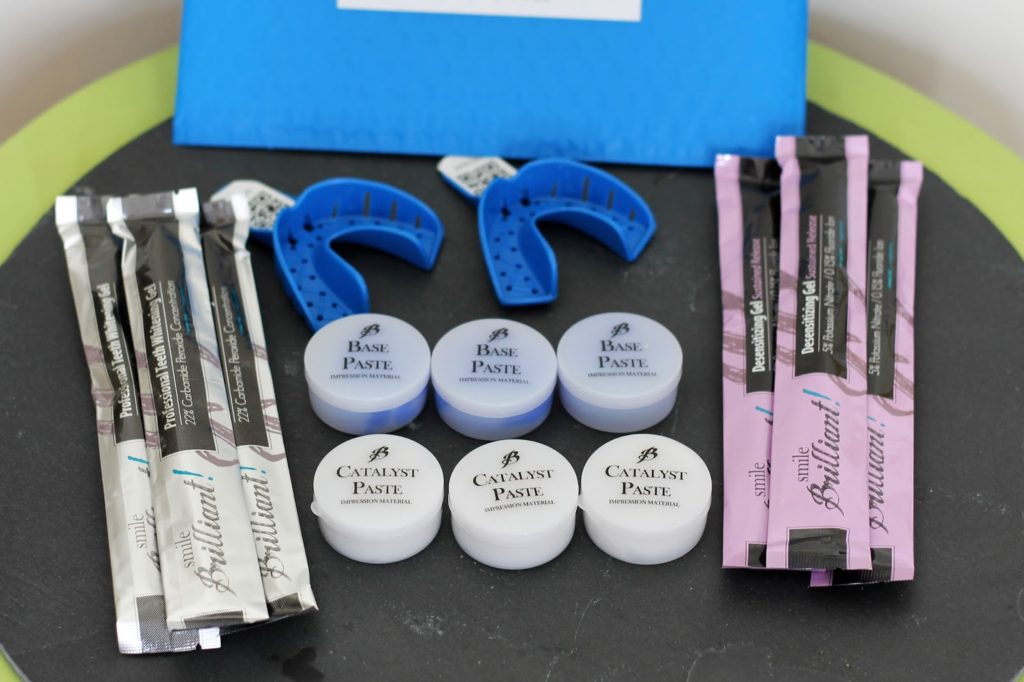
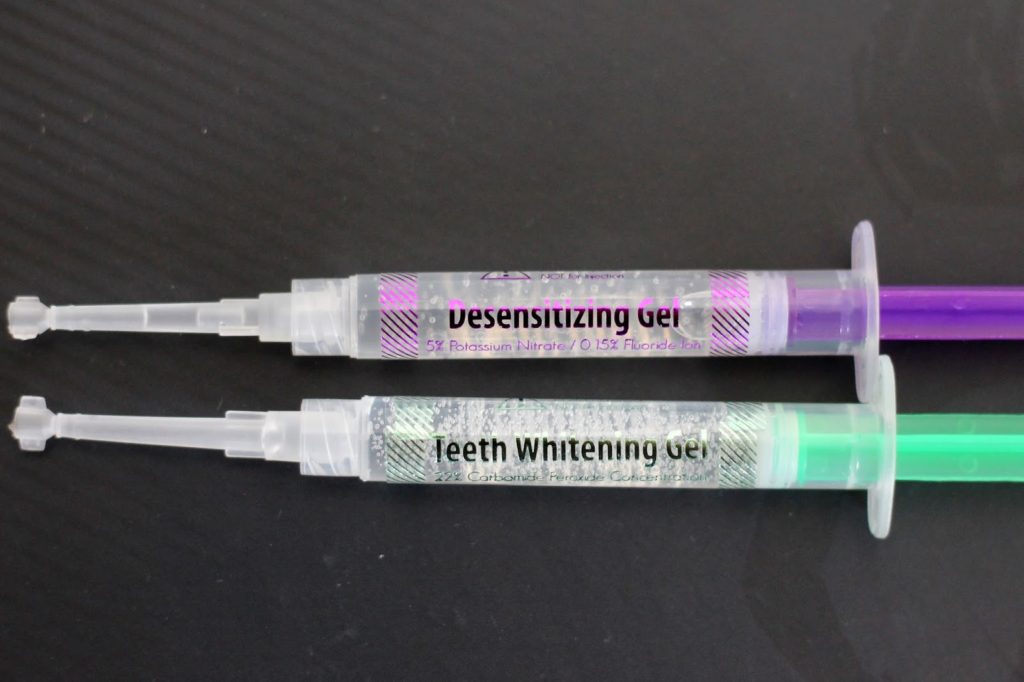
The box can seem a little confusing at first, but it contains all the items you need to complete two tasks: 1. create your own teeth impression and 2. whiten and desensitise your teeth. In the above picture, the 6 pastes and the 2 plastic molds are what you need to create a good teeth impression and the 6 plastic tube packs contain 3 whitening gels and 3 desensitizing gels for teeth whitening.
2. Creating your own teeth impressions
I think this might be the most difficult part of the whole process! I’ve never done anything like this before, so I was really scared about getting the whole thing wrong. Nevertheless, creating the impressions was really simple. All I needed to do was to blend the base paste and catalyst paste, lay it out in the mold and bite it for 5 minutes. Luckily enough, Smile Brilliant gives you three sets of paste, so in case you make a mistake, you can start again. The first one went wrong for me, so I was lucky to have an extra chance! Not many people get it right on the first attempt. 😉
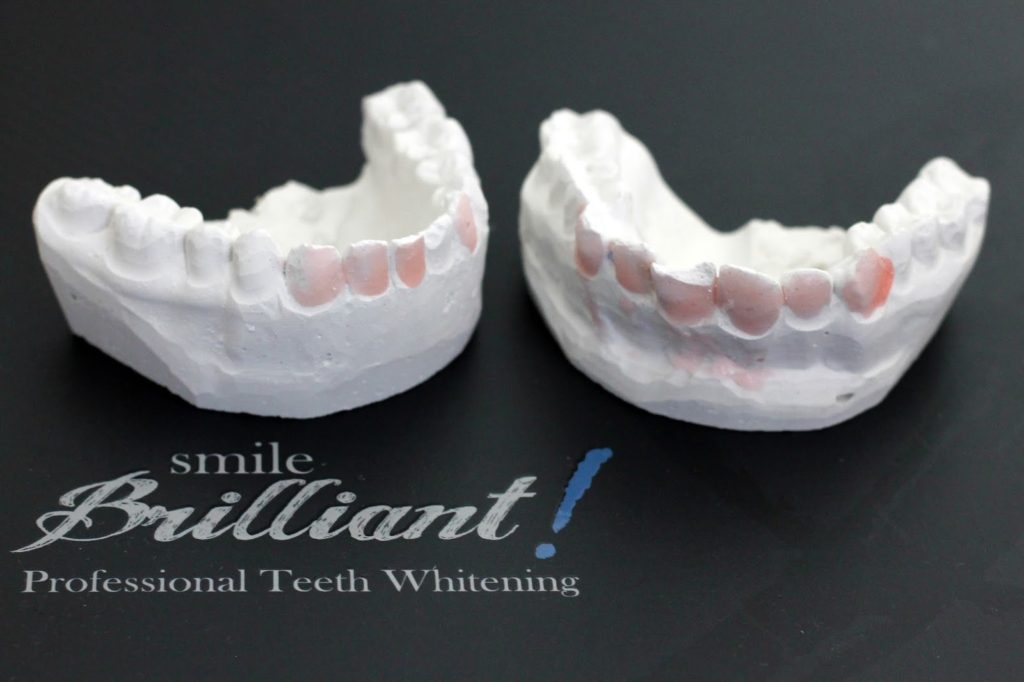
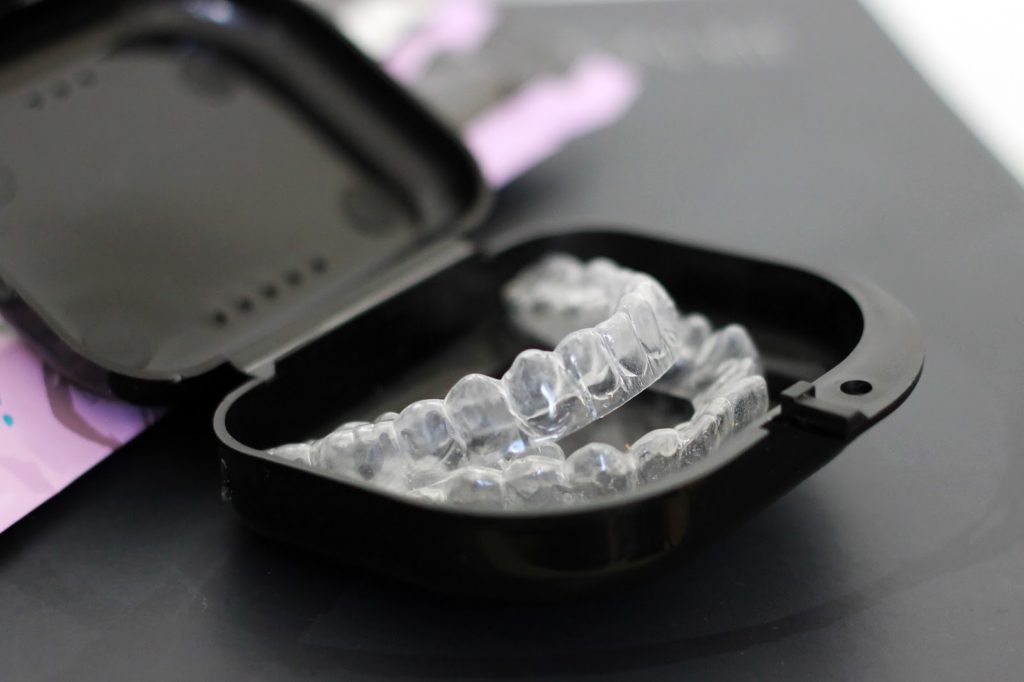
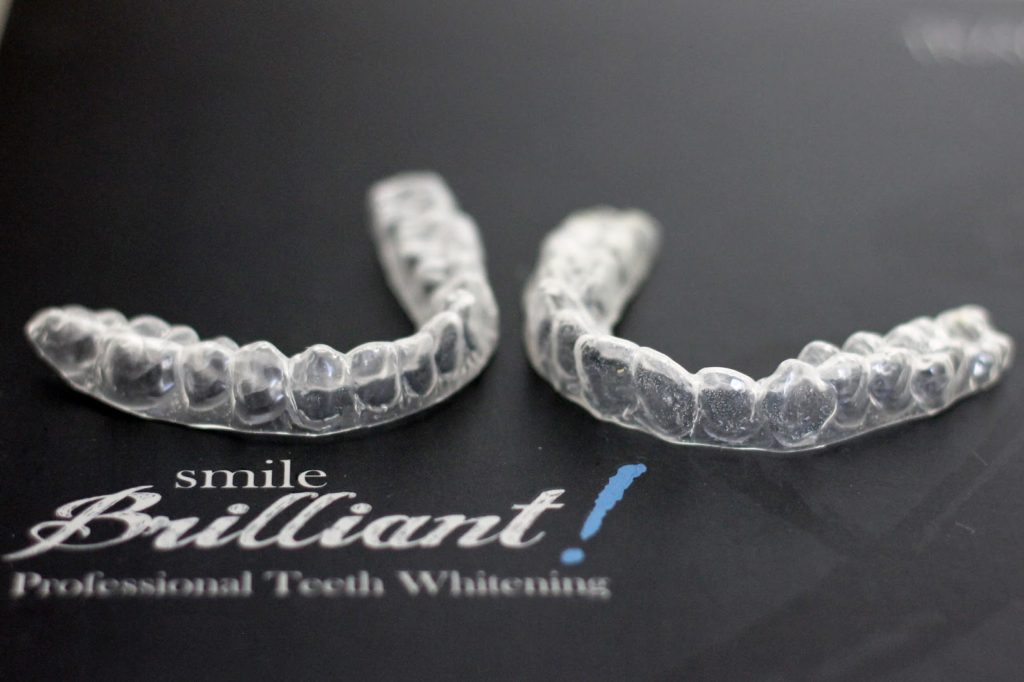
3. Personalised plastic trays
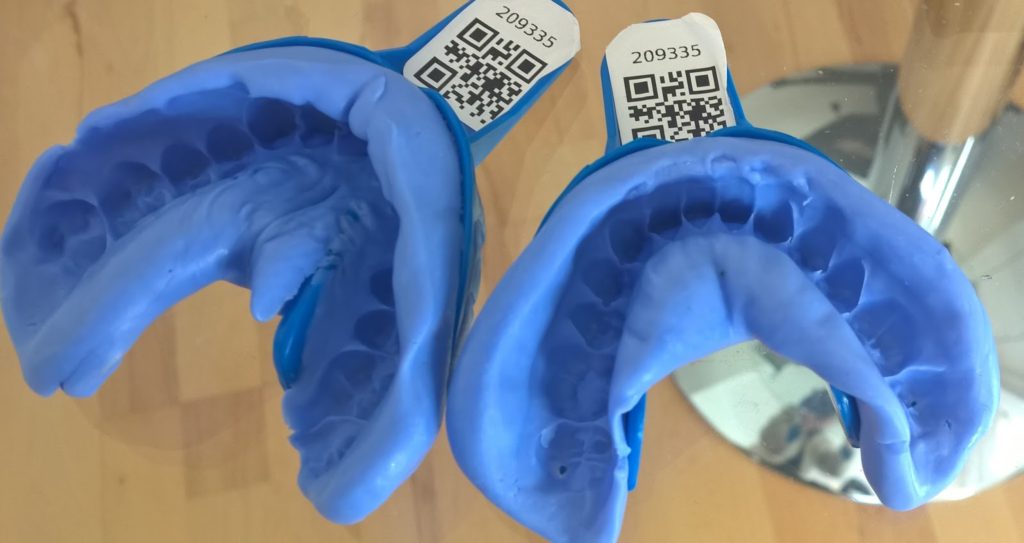
Now comes the exciting part! In less than two week after creating my teeth impression, Smile Brilliant sent the finished plastic trays back to me with the mold it was made from. Don’t worry, they won’t send you the mold if you don’t request it, but the one they sent me just shows how detailed it can be! It did get chipped in the post, but they do look pretty cool nonetheless!
As for the trays, they fit PERFECTLY! They are pretty durable and do not smell like plastic at all. I’m very pleased with the trays and I’m super impressed by how quick the whole process has been.
4. Teeth whitening
This part is completely up to you! You can find some tips and tricks online, but you decide how much teeth whitening gel you want to use and how long you want the treatment to last per application. I must admit that my first application turned out to be a bit of a disaster, but I learnt from my mistakes, which made the other applications super smooth and effortless.
What I did the first time was applying way too much gel to the trays so it was oozing out from the trays and I think I ended up swallowing more gel than necessary, which was no good! However, the trick here is to lie down whilst treating your teeth to avoid your own saliva going into the trays and washing out the treatment gel.
I treat my teeth for 30mins to 1 hour each time, depending on how much time I have, but you can treat it for up to 3 hours if you don’t have sensitive teeth and a lot of time at hand. After the treatment, I’d apply the desensitizing gel for 15 mins.
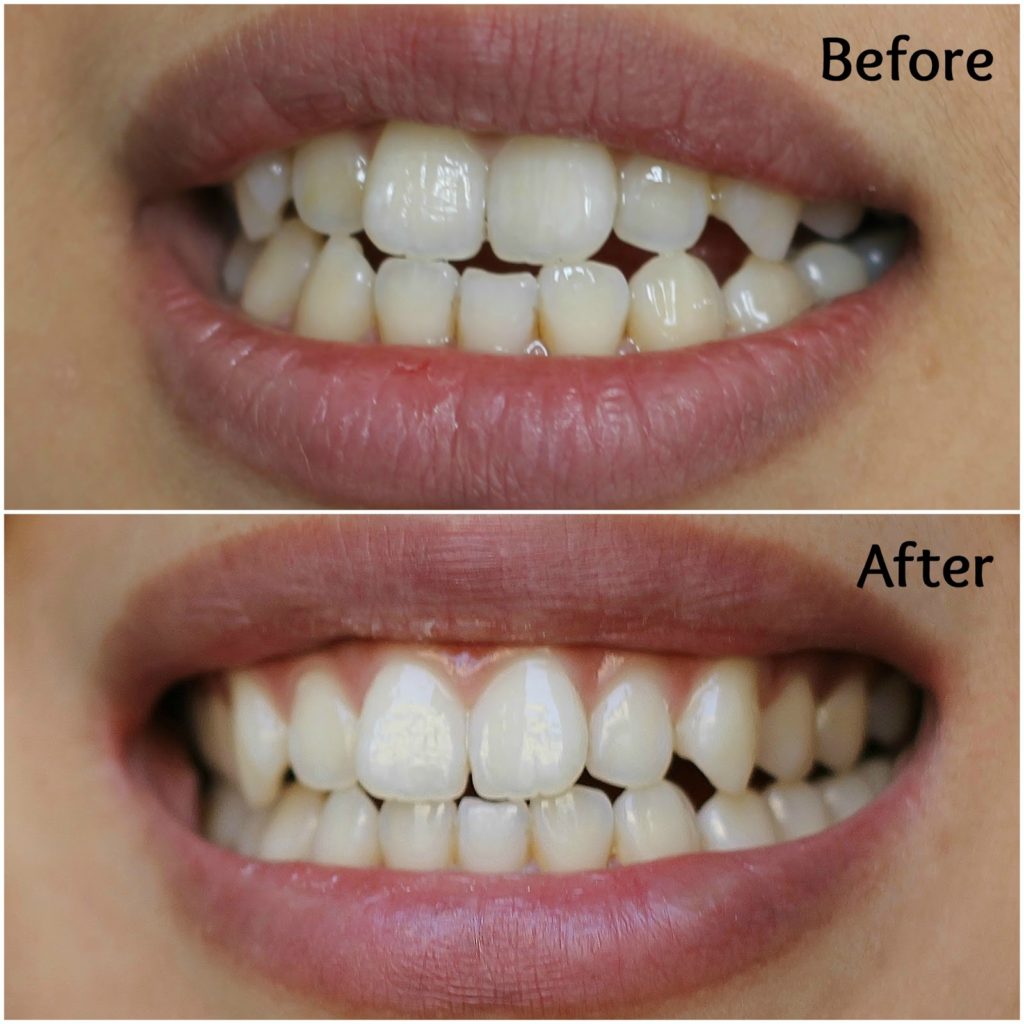
After something like 2 weeks and 5 treatments, my teeth look slightly whiter. To be honest with you, there wasn’t a huge change in colour, but what I noticed was that the my teeth has become more even toned! It’s removed the “coffee stains” on the surface and between the gaps. I know that the pictures doesn’t show it very well because they were taken at different times, but I did not edit the before & after photos because I wanted to show you the true image. However, my teeth does feel a bit sensitive after the treatment, even with the desensitizing gel, but it goes away after a day or two post treatment.
I think this is a simple and cheap way to whiter teeth at home, but it does require a lot of time and application if you want super white teeth! However, if you do have sensitive teeth like me, then you might need to go slow with this one.
The price of this whole kit is $119.95, which is £77! From there on, you can buy as many whitening and desensitizing syringes as you want from only £5 per whitening gel syringe and £3 per desensitizing gel syringe. Besides, each syringe lasts up to 4 treatments! That’s like £2 per treatment!
So have you tried something like this before or do you prefer to visit the dentist for a similar treatment?
*Disclaimer: This product was sent to me for review, but the views are 100% my own.
;
Great review! How much does this kit actually cost?
Hannah | http://www.hannerking.com xx
Oops! Missed one vital part of the review, but the price is there now. It's only £77 per kit. 🙂 x
Wow looks amazing.
Love it
The Bandwagon Chic | Instagram | Bloglovin
It looks like a professional treatment and your beautiful smile is even better than before!
Baci,
Coco et La vie en rose fashion blog – Valeria Arizzi